


1. Photography
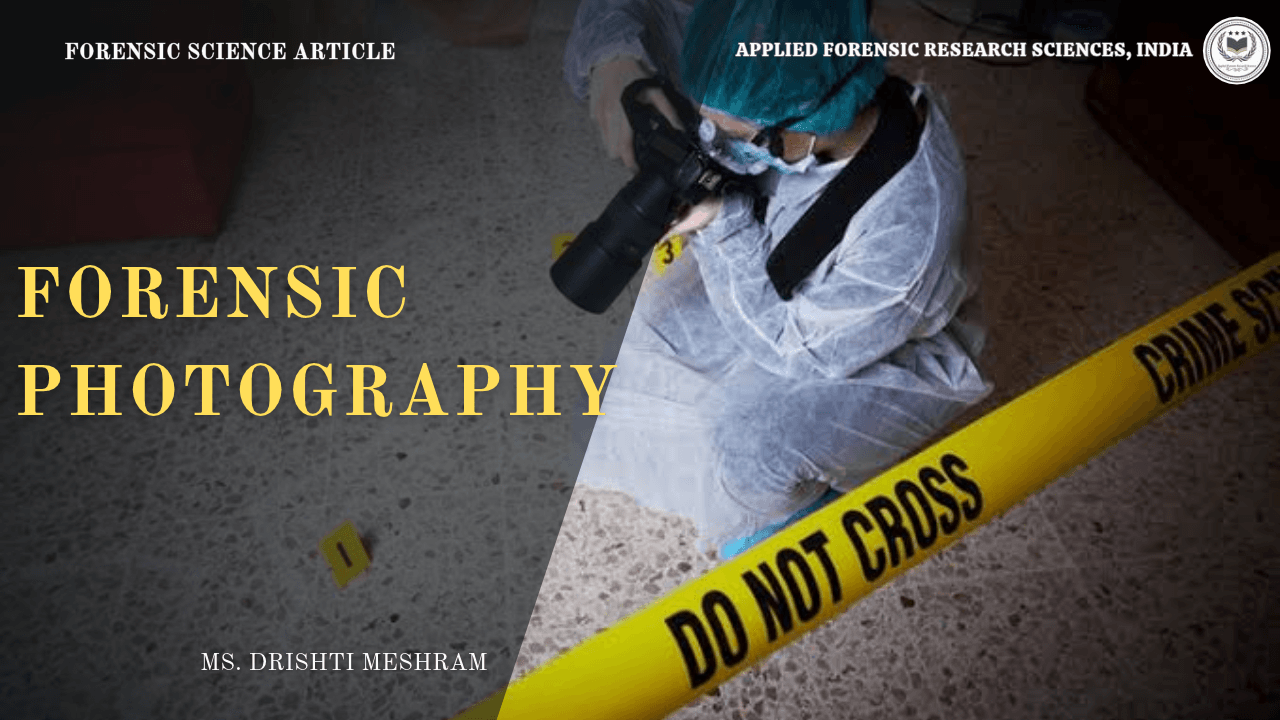
Photography is the art and science of capturing permanent images by recording light on a sensitive surface, either film or a digital sensor. Since its invention in the nineteenth century, it has evolved from a slow chemical process into an instant digital medium used in art, journalism, and law enforcement. In forensic work, photography provides an objective, permanent visual record of a scene or item of evidence exactly as it was found.
2. Camera
A camera is an optical device that captures images by controlling how much light reaches a light-sensitive surface, and for how long. It consists of a lens to focus light, a body housing the internal mechanisms, and a recording medium, either film or a digital sensor. Modern cameras also include controls for focus, exposure, and shooting mode, allowing precise adaptation to different subjects and lighting.
3. Types of Camera
Cameras are broadly classified into two categories based on how they record images: film cameras, which use light-sensitive chemical film, and digital cameras, which use an electronic sensor.
3.1 Film Camera
Film cameras use a strip of light-sensitive celluloid coated with silver halide crystals. Light striking the film triggers a chemical reaction that records a latent image, later developed through processing. Film negatives are difficult to alter, giving them strong evidentiary integrity in forensic contexts.
3.2 Digital Camera
Digital cameras replace film with an electronic sensor, either CCD or CMOS, which converts light into electrical signals stored as digital files. They allow instant review, easy duplication, and metadata recording such as date and settings, though they require strict preservation protocols against digital alteration.
4. DSLR
The Digital Single-Lens Reflex (DSLR) camera is preferred for forensic photography as it combines high resolution, interchangeable lenses, full manual control, and RAW file recording. A moving mirror reflects light up into an optical viewfinder for composing the shot, then flips away during capture so light reaches the sensor directly. This allows investigators to photograph scenes and evidence with the accuracy required for court presentation, even under difficult lighting.
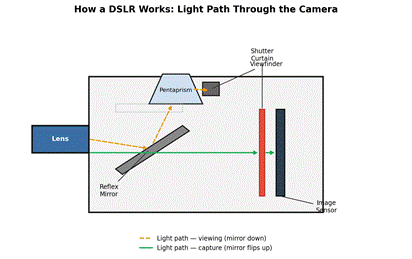
Figure 3: Light path through a DSLR camera
5. Parts of Camera
Although designs vary, most cameras share a common set of essential components that work together to capture an image, illustrated below and explained in the sections that follow.
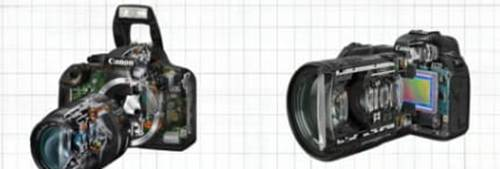
Figure 4: Internal parts of a camera body
5.1 Camera Body
The camera body houses the internal mechanisms, including the sensor, shutter, and mirror (in DSLRs), along with the external controls and hand grip that give the photographer a secure, stable hold.
5.2 Types of Lens
Lenses determine field of view, magnification, and image quality. A standard lens matches human vision, a wide-angle lens captures a broader view, useful for cramped crime scenes, a telephoto lens magnifies distant subjects, and a macro lens captures fine surface detail such as fingerprints or tool marks at high magnification.
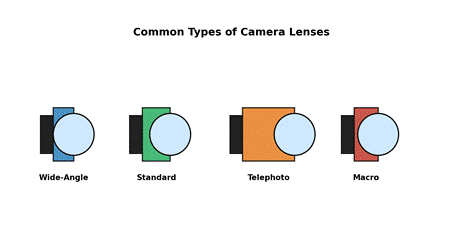
Figure 5: Common types of camera lenses
5.3 Lens Mount
The lens mount is the mechanical and electronic interface attaching the lens to the body, using a bayonet lock and contact pins. It aligns the lens precisely with the sensor and exchanges signals controlling autofocus and aperture. Each brand generally uses its own proprietary mount.
5.4 LCD Screen
The LCD screen displays camera settings, reviews captured images, and often enables live composition. In forensic work it helps immediately verify that evidence has been captured in sharp focus and correct exposure before leaving the scene.
5.5 Pop-up Flash
The pop-up flash is a small built-in unit that springs up to provide extra light, triggered automatically or manually. Its direct, on-axis light flattens surface texture, so it is generally avoided in detailed evidence photography, which instead needs angled lighting.
5.6 Modes of Camera
Mode dials offer settings balancing automation and control: Auto and Program set exposure automatically; Aperture and Shutter Priority let the photographer fix one setting while the camera adjusts the other; Manual mode gives full independent control and is standard for forensic work due to its consistent, repeatable exposure; Scene modes provide presets, and Bulb mode allows very long exposures.
5.7 Camera Ports
Common ports include USB for transferring images, HDMI for external video output, microphone and headphone jacks for audio, and a remote shutter release port for triggering the camera without touching it, reducing camera shake during long exposures or close-up evidence shots.
6. Shutter Button
The shutter button captures a photograph and operates in two stages: a half-press activates autofocus and metering, while a full press triggers capture. In forensic photography, locking focus with a half-press before fully pressing ensures sharp, precise evidence shots, particularly in close-up work.
6.1 Shutter Mechanism
The shutter mechanism controls how long light reaches the sensor, known as shutter speed. In a DSLR, the mirror rests in front of the sensor, directing light to the viewfinder; pressing the shutter button flips the mirror up while a focal-plane shutter opens and closes to expose the sensor. Fast speeds freeze motion, slow speeds can blur it, making this one leg of the exposure triangle.
6.2 Shutter Modes
Shutter modes include single shot, continuous or burst for rapid sequences, and self-timer to avoid shake. Silent or electronic shutter modes eliminate mechanical noise and vibration, while mirror lock-up raises the mirror in advance of firing, valuable for close-up evidence photography where slight movement can blur fine detail.
7. The Exposure Triangle
Correct exposure depends on three settings: ISO, aperture, and shutter speed. ISO measures sensor sensitivity, with higher values brightening the image but adding noise. Aperture controls the lens opening size, affecting both light and depth of field. Shutter speed determines exposure duration, controlling sharpness or blur. Balancing all three achieves a properly exposed, sharp image.
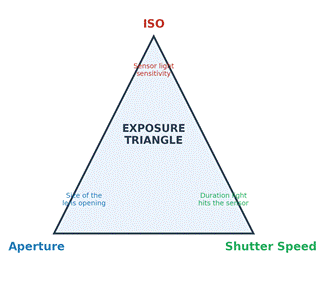
Figure 6: The Exposure Triangle
8. Manual Camera Control
Forensic photography generally requires full manual control, where the photographer independently sets ISO, aperture, and shutter speed rather than relying on automatic metering. This ensures consistent, repeatable exposure across evidentiary photographs and allows deliberate control over depth of field and motion, even in unusual lighting.
9. Focus & Depth of Field
Focus is the point at which an image appears sharpest, achieved when light rays from the subject converge precisely on the sensor. Depth of field is the range of distance that appears acceptably sharp; a shallow depth, from a wide aperture, isolates a subject against blur, while a deep depth, from a narrow aperture, keeps everything sharp. Forensic photography usually favours a deep depth of field so evidence and its context remain visible.
10. Crime Scene Photography
Forensic photographers follow a standardised sequence for legally defensible documentation: overall photographs capture the entire scene, mid-range photographs show evidence in relation to fixed reference points, close-up photographs isolate specific detail, and close-ups with a scale record precise measurements. This wide-to-narrow progression ensures every photograph can be traced to its exact location.
11. Scale Photography
Scale photography places a calibrated reference scale next to evidence before photographing it at close range, on the same plane and with the camera held parallel to avoid distortion. This allows the exact size of an object to be determined later directly from the photograph.
11.1 Evidence Measurements
Accurate measurement relies on the scale being clearly visible, undistorted, and aligned with the evidence plane. Measurements from a properly scaled photograph can later be used to compare footwear impressions, tool marks, or wounds with confidence during analysis and court proceedings.
12. Lighting Technique for Surface Evidence
Surface evidence such as footwear impressions and tool marks often needs specialised lighting. Oblique lighting, angled low across the surface, casts shadows that reveal texture invisible under direct light. Ultraviolet and infrared light sources can reveal latent evidence such as biological stains or altered documents. Selecting the correct angle and wavelength is often the difference between evidence being recorded or missed.
13. Digital Forensic Image Preservation
Preserving image integrity is essential for court acceptance. Images should be recorded in RAW format, as it retains unprocessed sensor data and cannot be edited without a separate copy. A documented chain of custody must be maintained from capture through storage, original files kept unaltered, hash values such as MD5 or SHA-256 generated to detect tampering, and files backed up on secure, access-controlled storage.
14. Conclusion
Photography, whether film or digital, remains a powerful tool for recording reality with precision. In forensic contexts, DSLR cameras, systematic sequences, scale references, specialised lighting, and rigorous digital preservation together ensure photographic evidence is accurate, reliable, and defensible, supporting the pursuit of justice through careful documentation.